

Lunge Pose is very popular pose in the entire yoga style. In Sanskrit, Lunge Pose is known as “Anjaneyasana”. Many times Yoga includes number of lunge related postures or asanas, but the name of these poses vary in different yoga schools. For instance, in Sanskrit Anjaneyasana (Anjaneya’s pose), Utthita Ashwa Sanchalanasana (Extended Equestrian Pose) etc. it is fully depends on the lineage and the circumstances. Sometimes postures of these asanas also modify according to the necessity of the practitioner. As example, the back knee can be up or down; the arms may be in any number of positions.
Lungs poses are good exercise for building different muscles, for strengthening sculpting, thighs, buttocks and hamstrings.
In general, there are two types of Lunge pose are practiced in Yoga. One is Low Lunge and the other is High Lunge Pose.
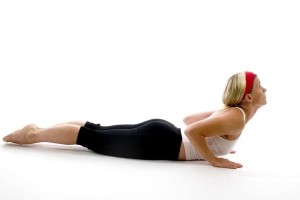
Low Lunge Pose (Ashwa Sanchalasana)
Step for Low Lunge Pose:
Step – 1. You need to start from Downward Facing Dog Pose (Adho Mukha Svanasana). At first bring your right knee over the right ankle.
Step – 2. Now press your palms properly, fingers onto the ground and lift comfortably the crown of your head up towards the sky.
Step – 3. Try to roll the shoulders down and back. Press the chest forward and look straight.
Step – 4. Now try to straighten your back leg, press the heel towards the ground, press the back of your knee upwards.
Step – 5. Relax and breathe. Hold in this position for 3-6 breaths.
Step – 6. When you think to release from the pose, step the left foot forward into the downward facing dog.
Benefits:
The benefits of this yoga are many. This pose stretches your groins and strengthens your legs and arms.
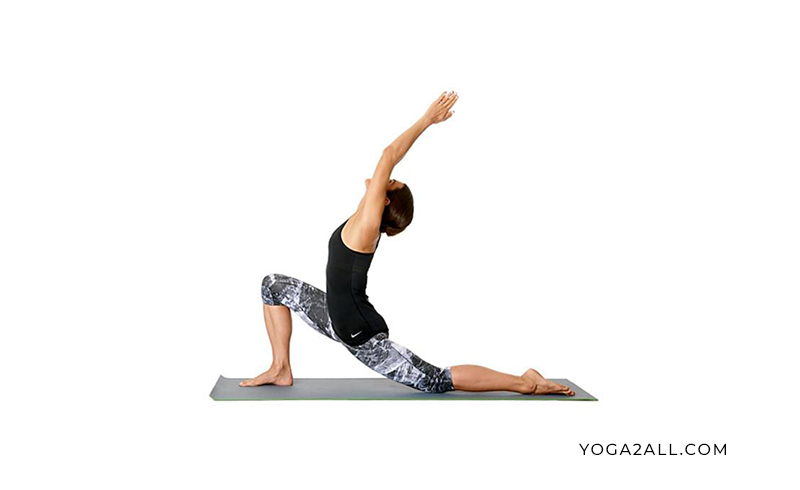
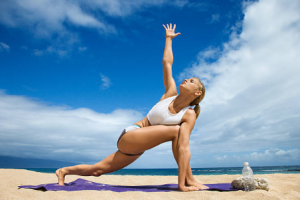
High Lunge (Alanasana)
Step for Low Lunge Pose:
Step – 1. At first stand in Mountain Pose.
Step – 2. Inhale properly and lift both of your hands up towards the sky and try in lengthening your spine.
Step -3. When you start exhaling, in the same time step your left foot forward at least 4-5 feet and try to bend your left knee properly.
Step – 4. Now reach up towards the sky with the hands, palms facing each other. Now just lower your shoulder down and away from the ears.
Step – 5. Now keep the shoulders right above the hips.
Step – 6. Now open up your chest comfortably and try to press it up towards the sky.
Step – 7. Press your back of the right knee up and the right heel back.
Step – 8. If you think to come out from the posture, just step forward.
Benefits
The benefits of this yoga are many. This pose stretches your groins and strengthens your legs and arms.
Amazing! Its genuinely awesome piece of writing,
I have got much clear idea about from this piece of writing.
Thanks