One of the most common complaints heard from beginners of yoga is their sore or hurting wrists. This is typically after a session with many planks, arm balances or chaturangas which are heavy on wrist work. Some moves cause too much pressure or strain on the wrists and require excessive motion of the hand.
In an attempt to circumvent any damage to your wrists, there are certain things that you should keep in mind. Sometimes wrists will lose any prior flexibility they may have had at one time. Many of the movements that the wrist makes on a daily basis do not employ its full range of motion. This is why when certain yoga poses are attempted and the wrists are heavily engaged, it can be strenuous or taxing on these vulnerable joints. Don’t miss these wrist safety tips for alleviating this problem in your yoga practice.
Practice on hard surfaces
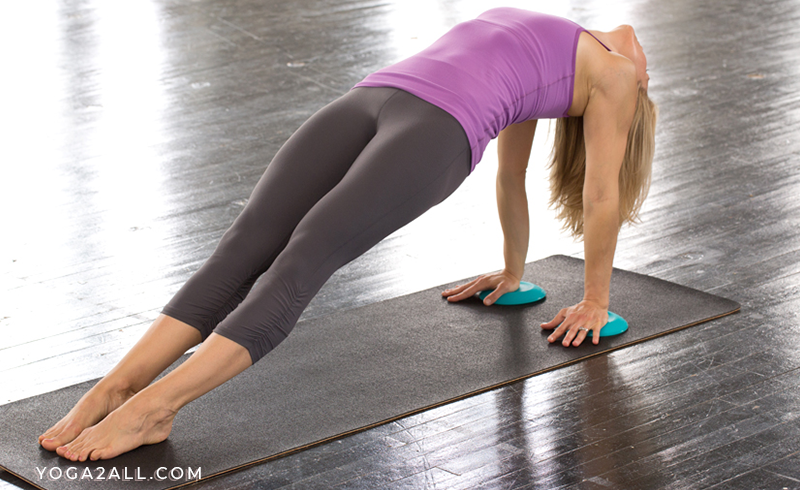
This goes for most yoga poses in general but especially those poses that rely intrinsically on the wrist. Many moves like chaturangas and planks are typical in standard yoga practices and commonly occur so all yoga should be practiced on a hard surface. Fluffy carpet or soft, thick yoga mats aren’t a good choice because they allow the heels of your wrists to give and sink into the material easily. This decreases the angle between your palm and forearm which puts unnecessary tension and pressure on your wrist joint.
Straighten your fingers
Sometimes you may tend to slightly grip the mat. When your fingers aren’t straight that can put unnecessary strain and tension on your wrist. Make sure to always completely extend your fingers. Be sure to evenly distribute your weight into all of the parts of your palms and fingers. So many wrist problems come from not knowing how to properly distribute your bodies weight to keep it upright and stabilized while holding a pose. Hand and finger placement is essential to doing this correctly.
Strengthen your wrist
The flexibility of the wrist can be worked and improved via particular actions. Something called “wrist lifts” is a great move to incorporate into your strength or flexibility training that will also tremendously help your practice. To begin: rest your forearm on a table top, lift the heel of your palm and then lower it. Do this for about 10 or 15 times, less if your forearm muscles become too tired. It’s also a great idea to try a downward down or a plank while the wrists are limber. Your muscle memory will be fresh directly after those reps.
Shift properly
So much of yoga is body awareness and mindset. You have to be cognizant of what your body is doing and where your proportions are lining up every single time you get into a pose. Shift your body gently to let your weight settle in all the right places, in your feet, knees and also hands as they hold you up. So much focus goes into your hands and your wrists because of the weight of your head, and because those things are in your direct line of sight. Activate and engage your entire body and the weight distribution in your hands and wrists will start to become much more manageable.
Roll your wrists
Along with the lifts suggested, you should be rolling out your wrists and thumb joints before and after every single practice. This helps to remind your wrist joints that they must be engaged and active. The ligaments in your wrist, hands, and fingers need to be both warmed up and cooled down in order to be successful in confidently holding your body in various positions.